
The short answer
What this setting controls
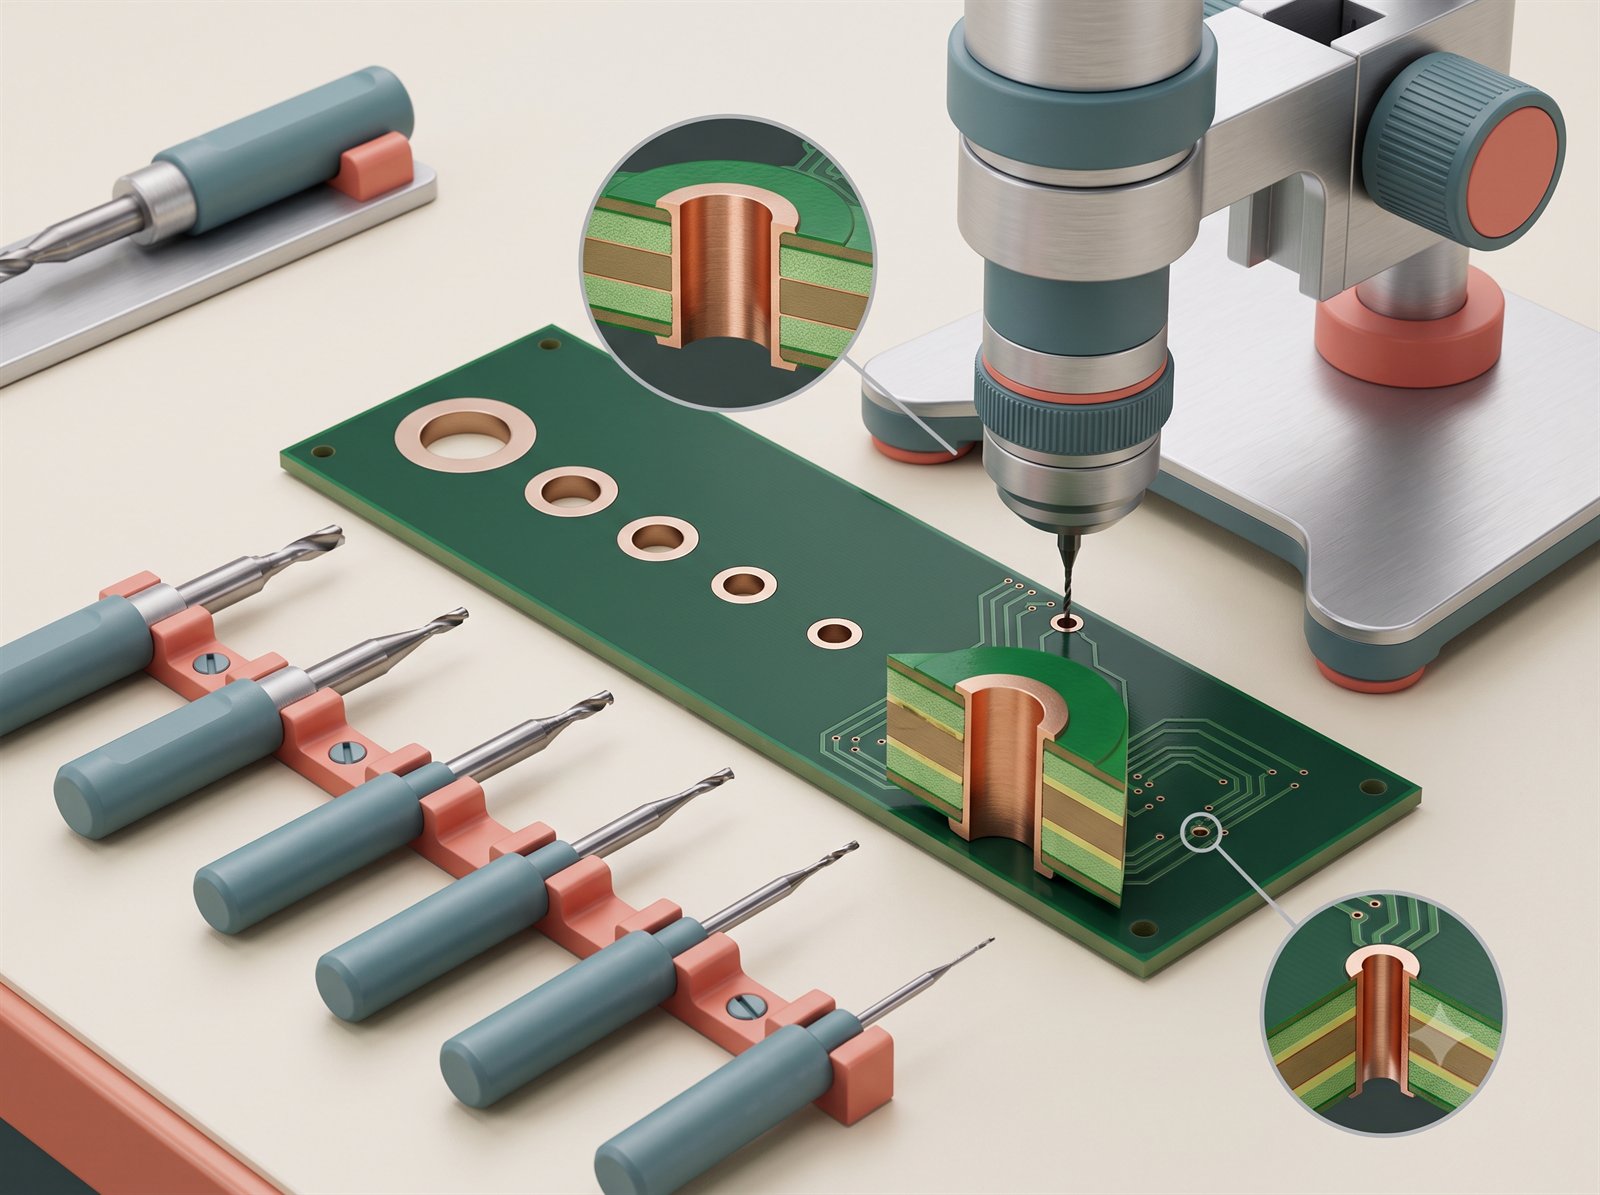
A larger via is easier and often less expensive to make. A smaller via can help dense routing, but it is not automatically a better design choice.
Compare finished hole, drill size, aspect ratio, pad diameter, annular ring, plating process, stack-up and escape routing. The analysed smallest hole is a hard guardrail for compatible selections.
Options in the order form
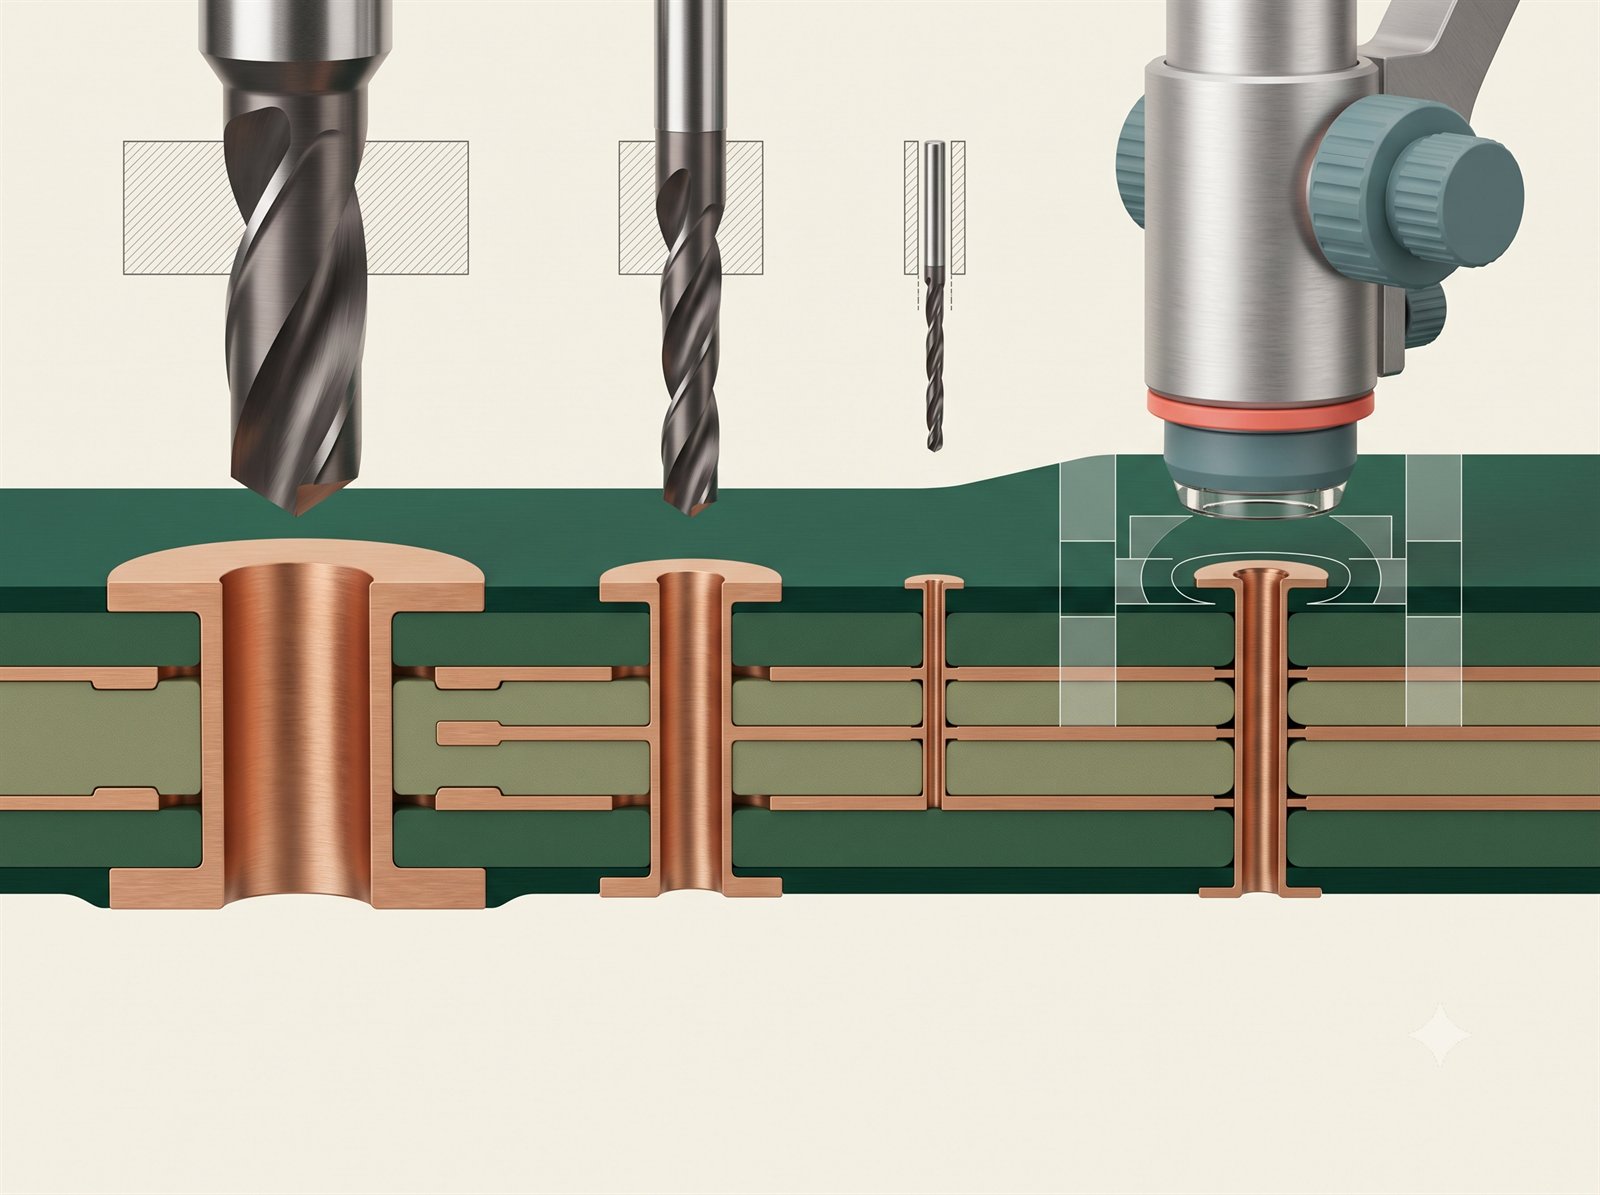
How the available choices differ
| Choice | Use it for | Engineering note |
|---|---|---|
| 0.30 mm finished hole | Robust general via geometry | Use an annular-ring diameter compatible with the selected process. |
| 0.25–0.20 mm | Denser routing | Aspect ratio, registration and plating become more demanding. |
| 0.15–0.10 mm | Very dense structures | Treat as a specialised process and confirm stack-up and via technology. |
Compatibility
What can change with this selection
- Options larger than the analysed smallest hole are disabled after review.
- Label text is intentionally allowed to wrap so the full technical range remains readable.
- If the page disables a choice, treat it as a compatibility result and adjust the controlling design decision rather than forcing the value.
Practical recommendation
How to make the decision
- Use the largest option that meets the layout escape and current requirements.
- Choose a finer via only when the layout cannot route with a larger one.
- After Gerber analysis, do not select a nominal hole larger than the smallest hole the design actually contains.
Before release
Check these points before adding the quote to cart
- Confirm the selected value matches the released Gerber, drawing, stack-up, BOM or assembly plan.
- Review any fields that changed automatically after this selection.
- Check the board preview and server-calculated estimate before adding the quote to cart.
- Use the largest option that meets the layout escape and current requirements.
- Choose a finer via only when the layout cannot route with a larger one.
- After Gerber analysis, do not select a nominal hole larger than the smallest hole the design actually contains.
Frequently asked questions
Answers for ordering and design review
Why can a larger option be disabled?
The uploaded design already contains a smaller hole. The selection must not contradict the analysed geometry.
When should I change Minimum via hole?
Change it when the released electrical, mechanical, thermal, assembly or quality plan gives a measurable reason. Otherwise keep the compatible default and review the resulting board preview and estimate.
Why is an option disabled?
The current material, geometry, layer count, quantity or another selected process makes that combination unavailable. Change the controlling selection or revise the design package rather than trying to bypass the disabled state.
Can I rely on the online choice as final manufacturing approval?
No. The interface screens known combinations and requests pricing, while final manufacturability remains subject to the released files and technical review.
What should I record outside the order form?
Put controlled requirements in the fabrication drawing, assembly drawing, stack-up, BOM or acceptance plan. Use Special instructions only for a concise pointer to that controlled requirement.
Will changing this update other selections?
It can. The order form re-evaluates compatibility and may replace a now-invalid dependent choice before requesting a fresh server-side estimate. Review every highlighted or automatically changed field.
What if the design requires an option that is not offered?
Do not approximate it with a different label. Recheck the controlling material and geometry, document the actual requirement, and request technical review before placing the order.
Useful engineering tools
Calculators and preparation guides
Further reading
Standards and technical references
Use the latest applicable revision and your organisation’s controlled requirements when a standard forms part of product acceptance.
- IPC design standards overviewIPC — Rigid, flex, HDI, RF and current-carrying design-standard families.
- TI high-speed layout guidelinesTexas Instruments — Return paths, layer transitions, vias and transmission-line effects.
- IPC-4761 via-protection guideIPC — Terminology and design intent for via protection, filling and capping.